I've been getting more and more interested with texturing lately since Substance gives you so much control to make really complex materials. So I wanted to try my hand at making a rusty piece of metal that's been worn and weathered over the years. At first, as per usual, I wanted to start small. Maybe a wrench or some sort of tool. When looking around on ArtStation I found that all them sorts of models had been done before and I wanted to do something a little different. I settled on an old desk vice. I used a mishmash of different reference to get the model that I wanted - I wasn't too fussed as this was more of a texturing challenge so I managed to knock the model out in a few hours.
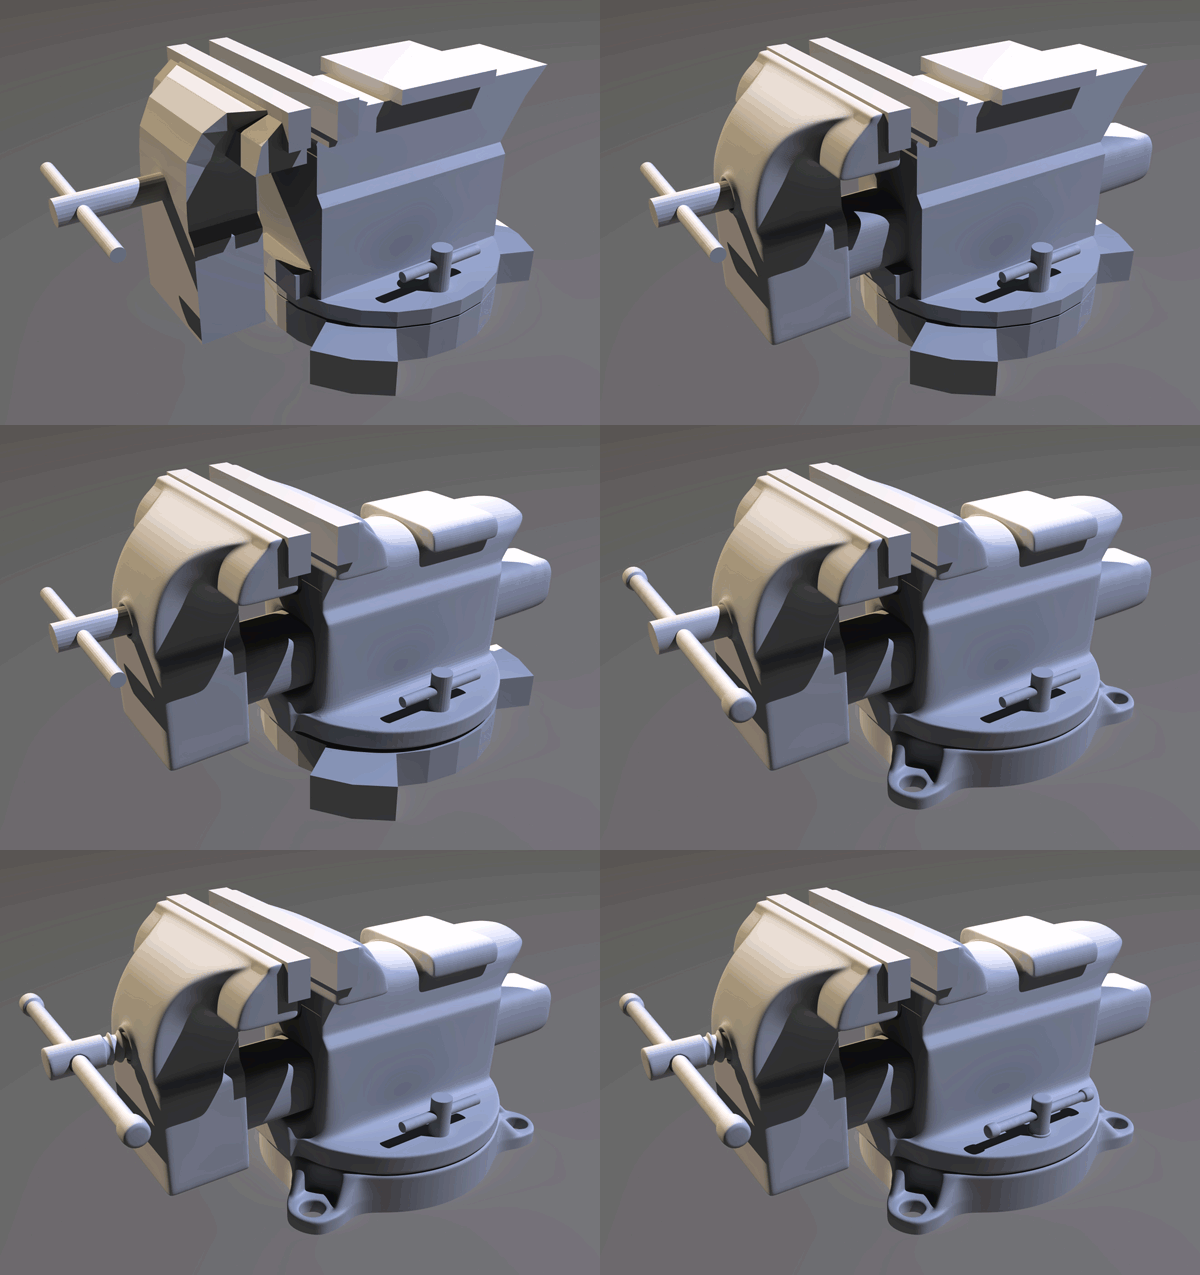
It's pretty meshy but I wasn't too bothered on that either. I nurbed everything and froze it when it came to importing into Painter. I did my best to reduce the seams when UVing but for the most part it was auto-unwrapped. As I then had the base model with no textures, or as I call the Vanilla Vice, I could import it into Painter and start baking the maps out.

Breakdown
There was a lot of reference used for this material to get my head around how I was going to layer it all up. So lets start from the bottom up.
Steel - The base layer was going to be some sort of metal, which thankfully, the Painter preset library is full of. I used the standard Steel Rough and knocked the roughness levels up so it didn't look so shiny (obviously).
Rust - After that was the rust layer. At first I was using this as the base material as I really wanted to give it that old worn look. I realised this was probably a bit too much of an overkill and used the Dirt brush to mask a bit out revealing the metal underneath. This added a lot more depth to it, especially the with bump effect the rust adds.
Rust Dark - This layer isn't too much of an importance. I added it over the original with the same mask and darkened the colour. I then used the Mold brush to punch through to the older, drier rust underneath. This varies the colour and adds a bit more age to it.
Paint - Next up we have the paint layer. This is probably the most important layer as 80% of the work was done on here. The material is a modified Painted Steel from the presets list with an alteration of height, roughness and colour to get the effect I desired. I increased the height to make it stand off the rust so when I created the flaking effect it looked more realistic. To make the chipped paint I used the Default Hard brush with the Cracks 03 alpha to carve out some of the detail. I tried to place the cracks more where they would naturally form from deterioration - like around the edges or where they would come in contact with other moving parts. When they were in I took the square alpha and erased some of the flakes to reveal the rust beneath.
Paint Dark - Like the Rust Dark layer, the Paint Dark is more or less the same thing. I copied and pasted the mask in and used the Mold and Dirt brushes to vary the colour. It's important to deactivate the height channel or the normals will multiply on top of each other.
Paint White - When I had the core material down I could start adding secondary layers to add another level of realism to the model. Paint White are the dashes of white paint (also obviously) that are scattered all over. I liked the idea that the vice was used to hold objects in place while they were painted. Sort of like when you see workmen's jumpsuits all splattered with different colours. I duplicated the Paint layer and changed the colour. I disabled the height map but on second thought it would have probably been nice to keep it enabled to make the paint look thick and that it'd dripped onto it. I used the smart mask called Paint Old Dirty which was perfect because it give me exactly the effect I wanted, hooray. I knocked down the opacity so it wasn't so obtrusive but apart from that, the smart mask did all the work.
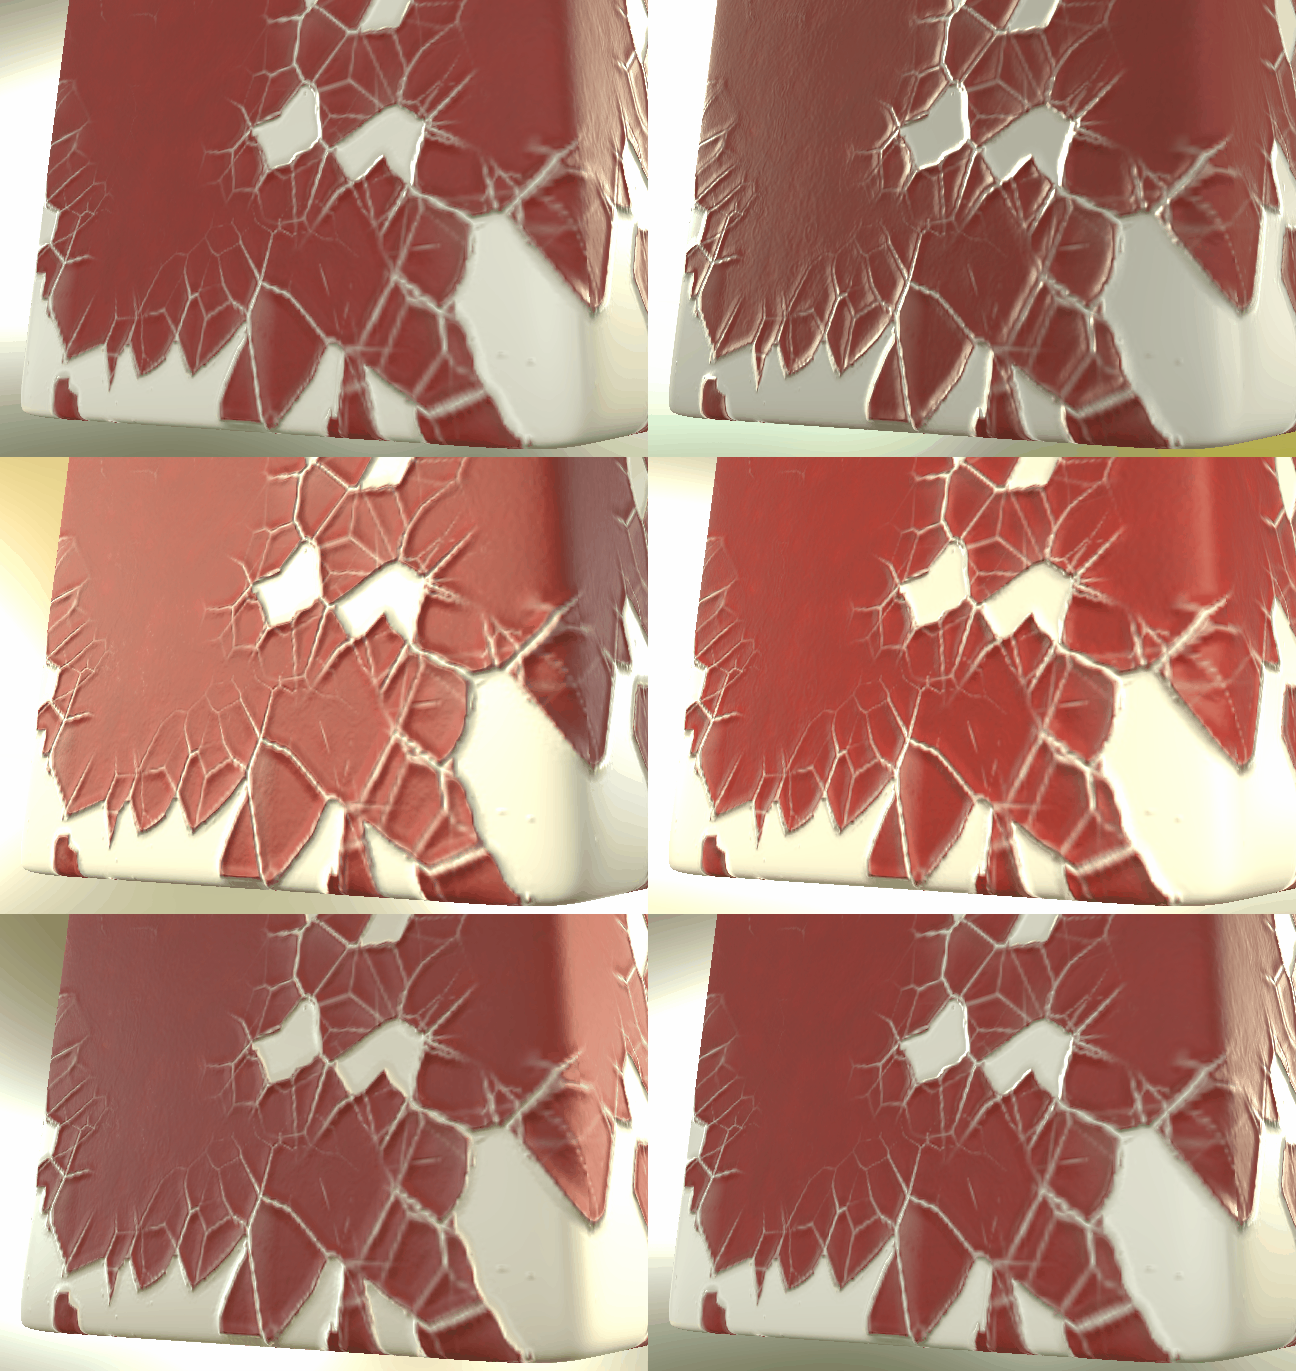
Paint Chip Bump - For this layer I'm going to have to use a few screenshots and a GIF to explain. I added this layer quite late as when I looked at the paint and compared it to my reference, it just wasn't quite right. I realised that my paint looked too thick and it should only flake on the ends where it reaches the rust. I wasn't going to subject myself to painting the details in by hand so I added a bunch of filters until I got what you see in the GIF below. So let me explain...


Image 1. Since the paint layer height map was pushing out, I only wanted this to effect the edges. I done this by adding a blank fill layer and removing all of channels bar height. I made a mask which was a copy of the paint layer's mask so the height would form exactly round those edges. It would be nice if you could dynamically link the two masks but I suppose that's why Designer exists. I then put the height on something like -0.4 which then preceded to confused the hell out of the normal map.
Image 2. Then I added Levels to it which pinched the corners. I got the midtones slider and slid it so far to the right it wanted to leave the EU.
Image 3. I added a Blur filter to blend between the two heights so it's flatter in the middle. You can see it starting to take shape now.
Image 4. It doesn't look much but I added a Sharpen filter to tighten up the edges a little bit. I had to be a bit careful with this not to over do it, as it sharpens all textures beneath.
Image 5. As the height was effecting all over the mask, I had to do something so that it would only show on the painted areas (You can see what I mean by the white bits on image 4). I added a black Fill filter in the mask and set the blending mode to Difference. This worked a dream and I was able to control the edges of the height by sliding the value up and down.
Dirt - Moving on, now we have Dirt layer. Again, like a sort of adjustment layer I added a blank fill with most channels turned off. I kept the roughness on as it was this that was going to provide the most detail. You could vary the roughness by hand using brushes if you want to, but I decided to use smart materials and generators combined with the curvature maps I baked out after importing to create a quicker, more realistic effect.
Dust - Finally we have the Dust layer. This layer gives the model a really nice texture and feel of being old. For this I used the mask builder and some of the baked maps to create this. It's always important to remember to bake off all maps when importing a model. For this the Position, Curvature, AO and World Space Normals were used to gather data on where the dust would 'land'. Alternatively you can use the pre-made dust layer from the Mechanical smart material preset and just cut and paste that onto your material (Which I totally didn't do).
And there you have it. A waffley-long post about some materials. Here is the finished result below, rendered in Painter with IRay.
Also here's a link to the Sketchfab model if you want to look at it in its full 3D gloriousness.


