"So how many problems did you have?" Is usually the first question that's asked when telling someone you used Bullet Dynamics inside Lightwave. In which the typical response would be "How long've you got?".
It was probably the fact that I was using the most primitive of shapes for doing this that explains why I didn't have too much difficulty when simulating. The set up was actually very simple. I created a capsule, bent it, then dropped it into a container several hundred times.
Initially I set my task to create a very colourful render of Jelly Beans in a bowl. It didn't take me too long to realise that to get the best results I had to use a physics engine to drop them in. This way the distributions of beans in the bowl would look random and realistic as the gravity and collisions would do all the work for me. My job was to watch a progress bar.
The bowl was set to a static mesh and the beans were set to rigid body. The biggest problem I had was when I was changing the margin size for the collision bounding box. The smaller it was, the more errors I seemed to encounter. I managed to get it down to around 1mm before I started to hit some bumps. Any lower and the beans would either fall through the bowl or get stuck inside other mesh.
The duplication of the beans slowly started to kill my computer and I arrayed and duplicated more and more beans. The more I stacked on top of each other the faster they would fall (because, well, physics) so I had to change the gravity in order to reduce their velocity. This meant the simulation was going to run a bit slower and I had to let it calculate for a few more frames to get the results I wanted.

Not long after getting a good framework down for the simulation I decided to ditch the bowl scene and have the beans take up the full screen. I liked the idea of using it for a banner for a webpage so I rendered it 1920x500. The camera was set to orthographic and instead of dropping the beans into a bowl, I dropped them into a rectangular container that fit just outside of shot. Just having one torrent of beans wasn't enough as the container it had to fill was of different proportions. Much to my CPU's regard I duplicated the stack and ran the simulation once again. Results are as above.
Getting more or less there, it was time to make it look vibrant and colourful. From the start I knew I wanted to use OTOY's Octane Renderer as I have been familiar with that for over a year now and I really wanted to get my teeth stuck into making a semi-transparent sub surface material. Well, that and the fact it makes the native Lightwave render engine look completely obsolete.

The Material
Pretty quickly I bailed with the plan of using the 'true' sub-surface scattering that you can get by plugging an absorption medium into a specular node. I don't know if it's because of my inexperience with this node or the particular look I was trying to get, but I felt a lack of control when using this and just couldn't get the results I wanted. Since it was absorbing different spectrums of light and pumping others out, the material was losing a lot of glossiness and as great as it would have looked for something like skin, I couldn't get sharp specular highlights. So I mixed instead.
Lets start out with the Glossy node. This was the base material that I was using to create the nice glossy surface of the bean, like the tough outer shell, if you will. Throughout each Jelly Bean the colours were the only variable I changed. I made sure to set them to something vibrant and strong so they would contrast each other, making it as colourful as possible. The specular was around 60/60/60 with the roughness on 15% (this applied for the specular material too).
For the specular node, I first turned Fake Shadows on which brightened up the colours straight away. I believe you get more realistic results if it remains off but it can be completely subjective depending on what material you're trying to emulate. The main purpose of this node is to create something that has a bit of depth to it. Set the transmission colour to the same as the Glossy's diffuse and now both nodes should be good to go.
Now for the mixing. Like I said before the glossy material was the base material, so I plugged that into the first material slot of the mixer with the Specular into the second. Mixing these together actually created nice results as I was able to get a little bit of shine and a little bit of depth. Still the colour looked a bit flat and this was when I decided to add the Falloff node.
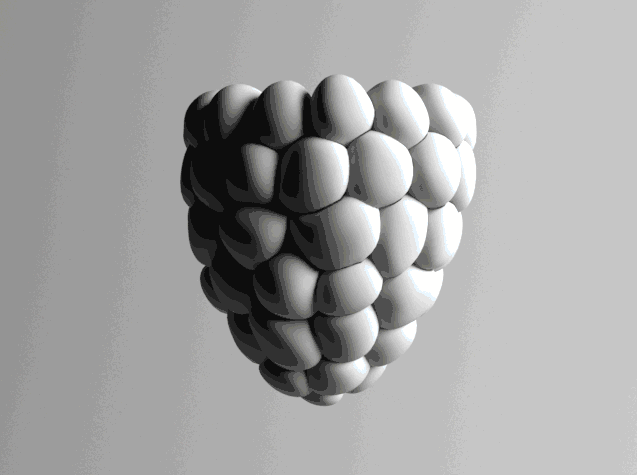
When a node is plugged into the 'Amount', it filters what material (ie. Glossy or Specular in this case) should be shown on the mesh based on the black and white output (float) values of whatever is plugged into it. This could be a turbulence map, noise, dirt, you name it. In this case I'm using a Falloff. What this does is takes the incidence angle, using the variables entered, to create a black and white map around the object. Or in short, it makes the curvy-roundy bits whiter than the other bits. When input into the Mixer, it makes the Glossy material take the white values and the Specular material take the black, creating what we see in the image below. I used the values of Normal = 0, Grazing = 0 and Falloff Index = 1 to get the desired look.
To see in HQ go to my portfolio page.